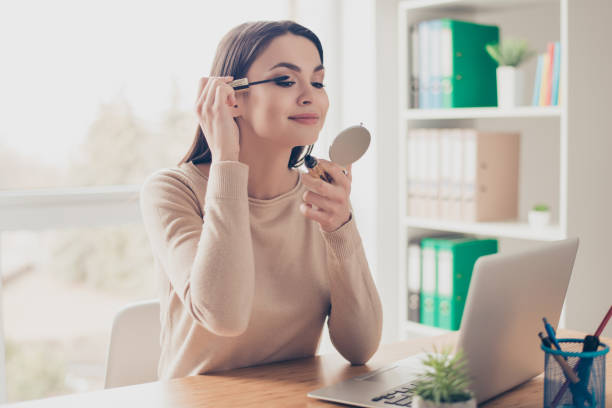
Do you know those makeup tricks
that make your face look thinner? Are the techniques of lights and shadows,
which when used correctly, make all the difference in the production and give
that tone to the nose, forehead and cheeks.
Foundation, powder, bronzer,
illuminator and blush cannot be missing from the case. Makeup can transform the
shape of the face and, with a touch here and there, it can highlight qualities
and hide small imperfections in the right places.
But do you know how to make that ideal makeup contour to thin your face? We've separated some essential tips for you to rock your production!
Lighten and darken
The parts of the face to be
highlighted, enlarged and highlighted need to be lightened. The ideal for this
is to choose products that are lighter than the skin, but don't overdo it, as
one or two shades are enough.
To hide, disguise and reduce,
the trick is to darken. As with lighting, when it is going to darken any
region, it is necessary to have products one or two shades darker than the skin
colour.
If you like to use an illuminator, the tip is that the tone that suits the skin and a blush pink tone cannot be missing.
Makeup to thin the face
- Face – On the
face, it will be half and half. Below the apples, darken, and above, just lighten.
The effect will be amazing!
- Forehead – To thin
the forehead, darken the edges and lighten the centre.
- Nose – By
lightening the upper part of the nose and darkening the sides, you will already
notice that thinner effect.
Of course, in general, each face shape has its variations, but these tips work and bring good results for all types and shapes.
Tricks
- Eyes – There is a
correct way to lighten the eye region. Making an inverted triangle is ideal,
but don't forget to fill all the space and then finish by smudging it with a
brush or sponge.
- Mouth – In
addition to thinning the face, makeup can also help give volume to the mouth.
To do this, just apply a little illuminator just above the contour of the
mouth, at the top.
- Darken - If you
are still a beginner, the tip is to use a powder to make the outlines darker,
so it is easier to blend. When you get the hang of it, foundation and concealer
also have a great effect.
- Smudging – After applying the products and making all the contours, a little secret is using a clean brush when spreading. With circular movements, spread and smudge, with lightness, until you reach the expected result.
Skin preparation
Before making the contours, it
is necessary to prepare the skin with a thin base layer. Then just start to
contour, lightening and darkening the key points of the face.
In the end, it's worth applying a little translucent powder, which will help to fix and will be the final touch of the make.
 A World Shopping


0 Comments