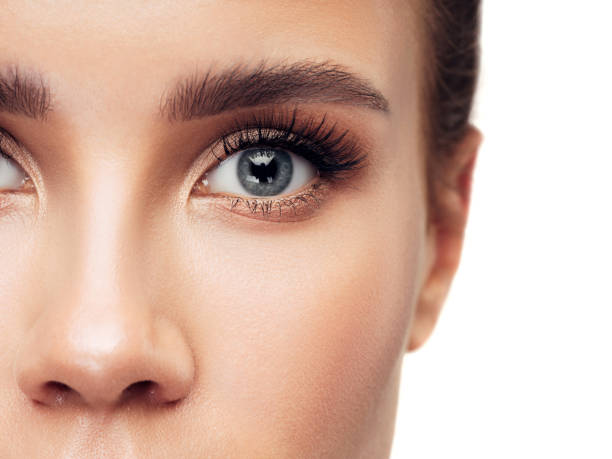
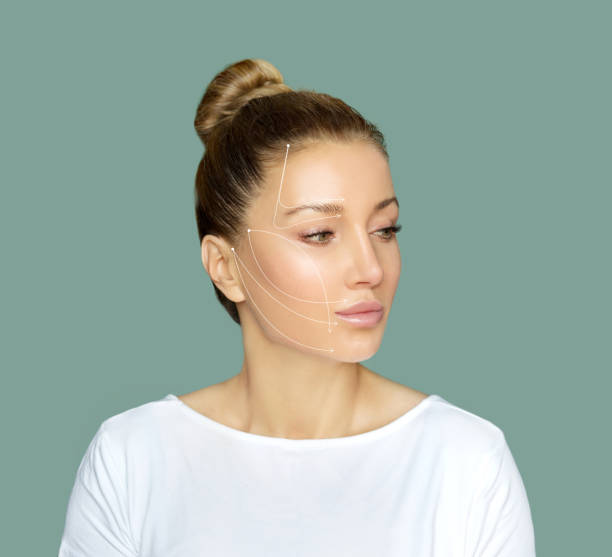
Makeup is a box of good
surprises. By knowing the right tricks, it's possible to create amazing
productions and disguise those skin imperfections that you don't like very
much.
And when we talk about it, the
contours cannot be left out. It may seem simple, but knowing how to work around
properly makes a big difference in the result of makeup.
The play of light and shadow,
which can help highlight some points and hide others, applies to various face
regions. And a highlight here are the contours for each type of nose.
Very quickly and with the right
products, it is possible to thin, correct, and lengthen the nose, which is a
part of the face that also attracts attention in productions.
Want to know how this works? Come, and we'll tell you everything!
What are the contours for each type of nose
To make things very clear and simple to understand, we'll show you some types of noses and how to make the right contours for the best results.
Thinning the nose
If you have a slightly wider
nose and the goal is to thin it, giving it a more elongated effect, the key is
to be careful with the sides.
Using a powder or concealer
darker than your skin tone, apply with a Beveled Brush, making two lines on the
sides of the nose. It's like you're tracing the lines indicating the points and
how thin you'd like the nose to be.
If you also want to leave a
little tip, give a more pointed effect to the nose, just follow the line to the
tip, making an arc, which will unite the lines on both sides.
Here's an important tip: if your
nose is wider just in the middle for stitches, draw the line from the middle to
the tip. If the line starts at the top, the part that is already thin will be
even thinner, which is not the effect we want.
To start shaping, take the brush and lightly smudge it towards the ears. If you want to highlight the tune even more, just apply a lighter powder or concealer between the two lines.
Correction of a crooked nose
Another wildcard in the world of
contours for each type of nose is the correction when the imperfection is a
case of being a little crooked. The point where the nose starts to get crooked
is where you will begin the contour.
If your nose is crooked more to
the right, the dark line should be drawn on the right, and the one on the left
a lighter one.
Do you know when we talked about the game of lights and shadows? Because this is exactly where it will be most visible. To mask this type of imperfection, work well with dark and light highlights.
Disguising the nose that has a ball on the tip
This type of nose deserves a contour only on the very tip. It's like making a light U and at the base, applying the lightest concealer between the lines. This way, it is possible to reduce the bulky effect on the tip of the nose.
Curved nose
If your nose is long and has a kind of curvature in the middle, you need to apply the dark color only in this central part, making a vertical line. The lighter color goes at the tip and in the region between the eyebrows.
Protruding bone
Some people have a more
prominent little bone in the middle of their nose. To disguise this is super
simple. At the site, make two small lines on the sides. Between the lines make
an X, with the darkest concealer color.
Next, it is important to make two small horizontal lines, with the clear concealer, so that the design made above is between the lighter lines.
Pointed nose
For this type of nose, just make an arrow at the tip, with the darker color of the concealer or powder.
What if the problem is that it's too thin?
Calm down, everything here has a
solution with contours for each type of nose. As much as it seems a little
unusual, there are also noses that are super thin.
And to fix this, instead of the
vertical lines, let's bet on the horizontal ones. With the darker product, draw
three thicker lines, starting at the top, which should not reach the tip.
Now with the lighter color, make
another three lines, starting at the tip of the nose and placing the rest
between the dark lines.
Now that you know some valuable
tips about the contours for each type of nose, just start testing and adding
value to your production!
Each type of nose has its peculiarities, and this needs to be respected at the time of makeup. So knowing more about how to get around is an asset that needs to be used well.
Know the contours for
each type of nose
Makeup is a box of good
surprises. By knowing the right tricks, it's possible to create amazing
productions and disguise those skin imperfections that you don't like very
much.
And when we talk about it, the
contours cannot be left out. It may seem simple, but knowing how to work around
properly makes a big difference in the result of makeup.
The play of light and shadow,
which can help highlight some points and hide others, applies to various face
regions. And a highlight here are the contours for each type of nose.
Very quickly and with the right
products, it is possible to thin, correct, and lengthen the nose, which is a
part of the face that also attracts attention in productions.
Want to know how this works? Come, and we'll tell you everything!
What are the contours for each type of nose
To make things very clear and simple to understand, we'll show you some types of noses and how to make the right contours for the best results.
Thinning the nose
If you have a slightly wider
nose and the goal is to thin it, giving it a more elongated effect, the key is
to be careful with the sides.
Using a powder or concealer
darker than your skin tone, apply with a Beveled Brush, making two lines on the
sides of the nose. It's like you're tracing the lines indicating the points and
how thin you'd like the nose to be.
If you also want to leave a
little tip, give a more pointed effect to the nose, just follow the line to the
tip, making an arc, which will unite the lines on both sides.
Here's an important tip: if your
nose is wider just in the middle for stitches, draw the line from the middle to
the tip. If the line starts at the top, the part that is already thin will be
even thinner, which is not the effect we want.
To start shaping, take the brush and lightly smudge it towards the ears. If you want to highlight the tune even more, just apply a lighter powder or concealer between the two lines.
Correction of a crooked nose
Another wildcard in the world of
contours for each type of nose is the correction when the imperfection is a
case of being a little crooked. The point where the nose starts to get crooked
is where you will begin the contour.
If your nose is crooked more to
the right, the dark line should be drawn on the right, and the one on the left
a lighter one.
Do you know when we talked about the game of lights and shadows? Because this is exactly where it will be most visible. To mask this type of imperfection, work well with dark and light highlights.
Disguising the nose that has a ball on the tip
This type of nose deserves a contour only on the very tip. It's like making a light U and at the base, applying the lightest concealer between the lines. This way, it is possible to reduce the bulky effect on the tip of the nose.
Curved nose
If your nose is long and has a kind of curvature in the middle, you need to apply the dark color only in this central part, making a vertical line. The lighter color goes at the tip and in the region between the eyebrows.
Protruding bone
Some people have a more
prominent little bone in the middle of their nose. To disguise this is super
simple. At the site, make two small lines on the sides. Between the lines make
an X, with the darkest concealer color.
Next, it is important to make two small horizontal lines, with the clear concealer, so that the design made above is between the lighter lines.
Pointed nose
For this type of nose, just make an arrow at the tip, with the darker color of the concealer or powder.
What if the problem is that it's too thin?
Calm down, everything here has a
solution with contours for each type of nose. As much as it seems a little
unusual, there are also noses that are super thin.
And to fix this, instead of the
vertical lines, let's bet on the horizontal ones. With the darker product, draw
three thicker lines, starting at the top, which should not reach the tip.
Now with the lighter color, make
another three lines, starting at the tip of the nose and placing the rest
between the dark lines.
Now that you know some valuable
tips about the contours for each type of nose, just start testing and adding
value to your production!
Each type of nose has its peculiarities, and this needs to be respected at the time of makeup. So knowing more about how to get around is an asset that needs to be used well.
 A World Shopping


0 Comments